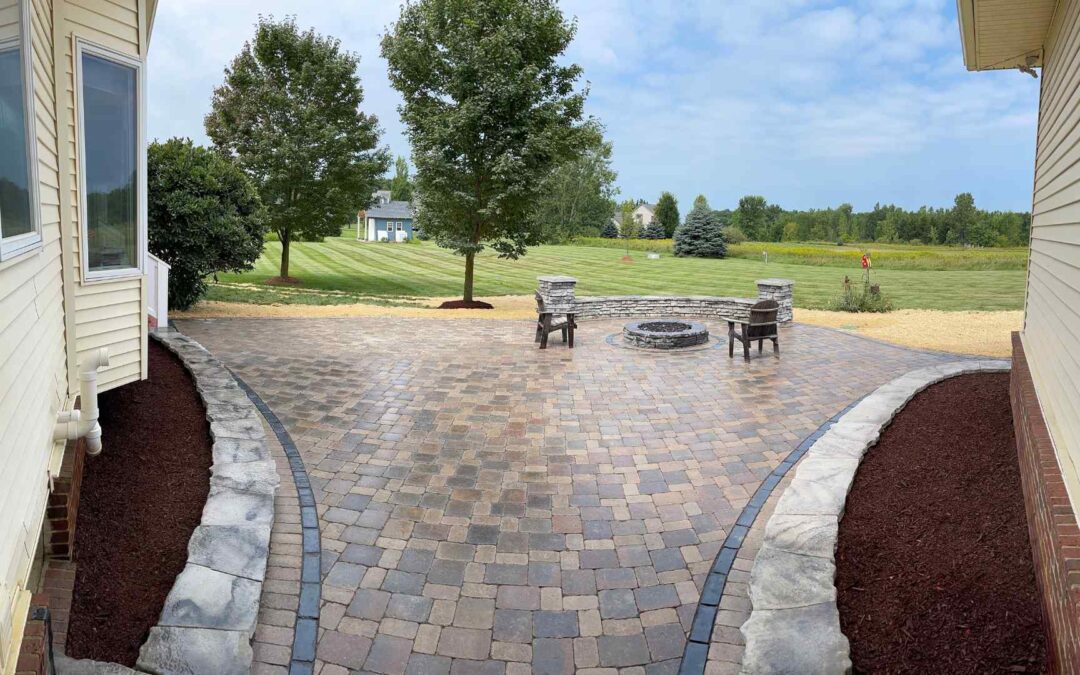
Embarking on DIY hardscaping projects can be an exciting endeavor, offering the opportunity to enhance your outdoor space while showcasing your creativity and craftsmanship. However, without proper planning and execution, DIY hardscaping projects can quickly become daunting and costly endeavors. To help you navigate the intricacies of hardscaping, we’ve compiled a list of essential do’s and don’ts to ensure your project’s success. Whether you’re building a patio, installing a retaining wall, or constructing a garden pathway, following these guidelines will help you achieve professional-looking results while avoiding common pitfalls.
The Do’s of DIY Hardscaping Projects
- Do Plan Carefully: Before diving into your hardscaping projects, take the time to develop a comprehensive plan. Consider factors such as the layout, dimensions, materials, and functionality of your hardscape design. Create sketches or blueprints to visualize the finished project and identify potential challenges or opportunities for improvement.
- Do Choose Quality Materials: Invest in high-quality materials that are durable, weather-resistant, and suitable for your specific hardscaping application. Whether you’re working with pavers, bricks, stone, or concrete, select materials that complement your landscape design and meet your aesthetic preferences and budget constraints.
- Do Prepare the Site Properly: Proper site preparation is essential for the success of your hardscaping project. Clear the area of vegetation, debris, and obstacles, and ensure that the ground is level and compacted. Consider factors such as drainage, soil composition, and slope when preparing the site to prevent issues such as erosion, settling, or water pooling.
- Do Use the Right Tools and Equipment: Having the right tools and equipment can make a world of difference in the outcome of your hardscaping projecst. Invest in quality tools such as a level, tape measure, shovel, wheelbarrow, and compactor to ensure precision and efficiency during construction. Rent or purchase specialized equipment such as a plate compactor or wet saw for larger projects or challenging terrain.
- Do Pay Attention to Detail: Attention to detail is key to achieving professional-looking results in DIY hardscaping projects. Take the time to properly align and level each component, whether it’s laying pavers, building a wall, or installing edging. Pay attention to spacing, patterns, and joint alignment to ensure a cohesive and visually appealing finished product.
The Don’ts of DIY Hardscaping Projects
- Don’t Rush the Planning Stage: Rushing through the planning stage can lead to costly mistakes and revisions down the line. Take the time to carefully consider every aspect of your hardscaping project, from design and layout to materials and budget. Consult with experts or experienced DIYers if you’re unsure about any aspect of your project.
- Don’t Cut Corners on Quality: Cutting corners on materials or construction techniques may save you money upfront but can result in inferior results and costly repairs in the long run. Choose quality materials and follow recommended installation practices to ensure the longevity and durability of your hardscape features.
- Don’t Neglect Proper Drainage: Poor drainage can wreak havoc on hardscaping projects, leading to issues such as water pooling, erosion, or structural damage. Incorporate adequate drainage solutions, such as gravel base layers, French drains, or slope adjustments, to ensure proper water runoff and prevent water-related damage to your hardscape features.
- Don’t Overlook Safety Precautions: Safety should always be a top priority when undertaking DIY hardscaping projects. Wear appropriate safety gear, such as gloves, safety glasses, and sturdy footwear, to protect yourself from injury. Use caution when operating power tools or heavy equipment, and follow manufacturer’s instructions and safety guidelines at all times.
- Don’t Hesitate to Seek Professional Help: While DIY hardscaping projects can be rewarding, there are times when it’s best to seek professional assistance. If you encounter challenges beyond your expertise or if the project requires specialized skills or equipment, don’t hesitate to enlist the help of a qualified contractor or landscaper. Investing in professional assistance can save you time, money, and frustration in the long run.
Conclusion
Embarking on DIY hardscaping projects can be a fulfilling and rewarding experience, allowing you to transform your outdoor space into a functional and aesthetically pleasing oasis. By following these essential do’s and don’ts, you can ensure the success of your project while avoiding common pitfalls and mistakes. Whether you’re a seasoned DIY enthusiast or tackling your first hardscaping endeavor, proper planning, attention to detail, and adherence to best practices will set you on the path to hardscaping success. So roll up your sleeves, gather your tools, and get ready to create the outdoor space of your dreams with confidence and skill.


Recent Comments